WordPress Customizer
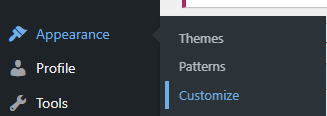
We are going to make a start with the top-level WordPress website styles. Go to Appearance Menu > Customize. This will open the settings screen below, the following tabs need to be visited.
General Settings
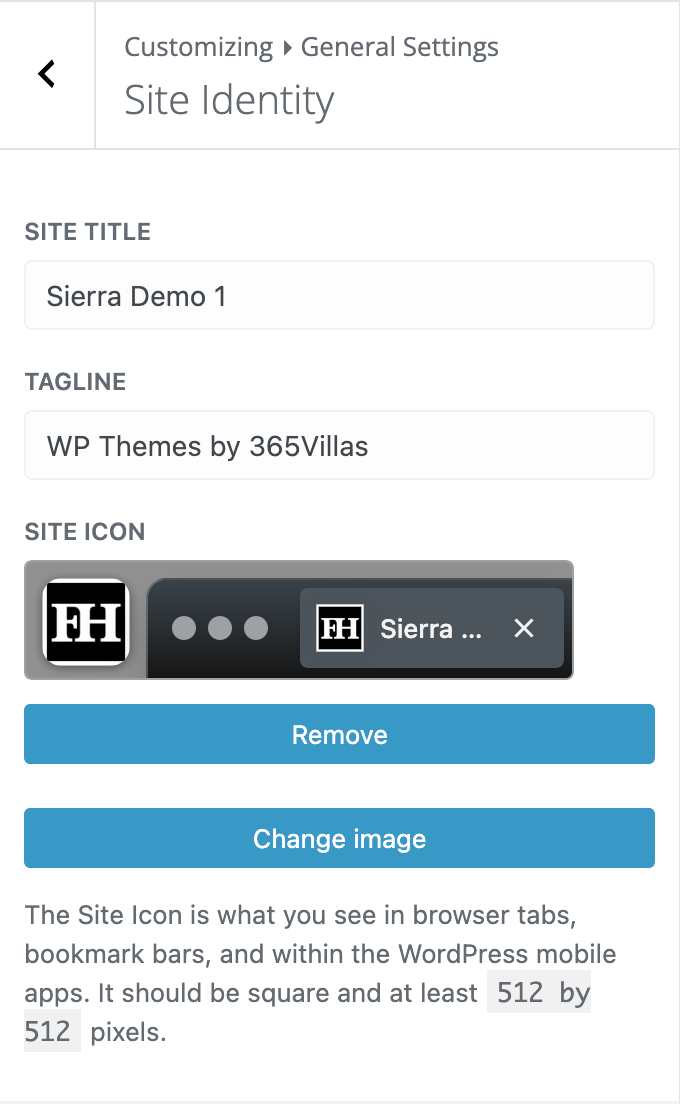
Site Identify
|
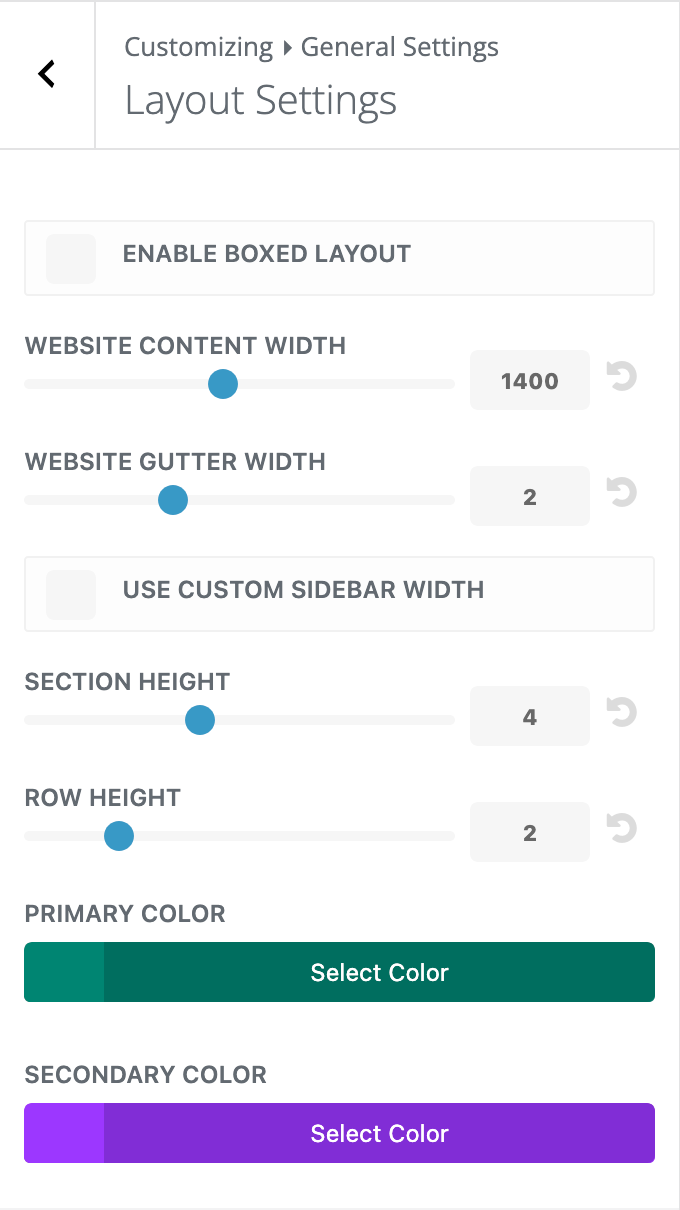
Layout SettingsClick on the Sierra green swatch in Theme Accent Color and it will bring up your default colour palette you have selected earlier. Choose the main highlighting colour from your brand which the theme will use as the default colour for various modules on your pages. |
TypographyThere are extensive settings here for your typography but we have done most of the work with Sierra. Select your Header Font and Body Font from the long Google Fonts dropdown list. For a better view or search of these fonts visit Google Fonts. You may want to change your Header Text Color or Body Text Color if you feel it is more suitable for your brand. The Body Link Color is for text you have added hyperlinks to. |

Buttons
Go back to the start of the menu and visit Buttons > Button Style. Enter your main highlight color for the Background Color and Border Color (if preferred). Select the font that will appear in your buttons.
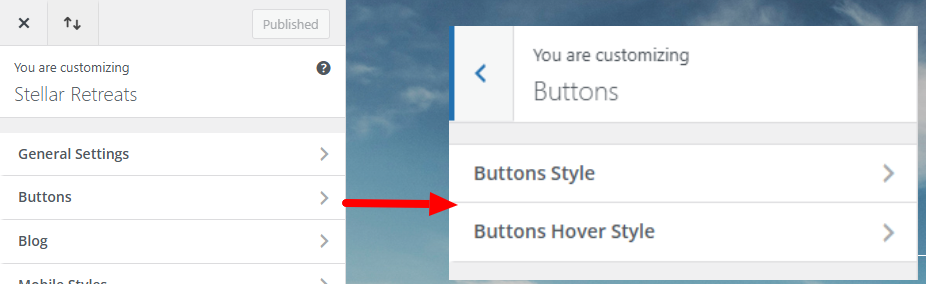
Then to the second part of button settings, Buttons Hover Style. If you wish for there to be a different hover state, change where applicable. Sierra
default button is coloured to transparent on hover with arrow icon active.
Tips: To keep brand consistency, use either the heading or paragraph font you selected in Typography settings above.
Additional CSS
This area contains CCS code for the styling of custom elements used throughout Sierra. This will rarely need to be edited but in the small number of cases you will, you will find the relevant code under its labelling.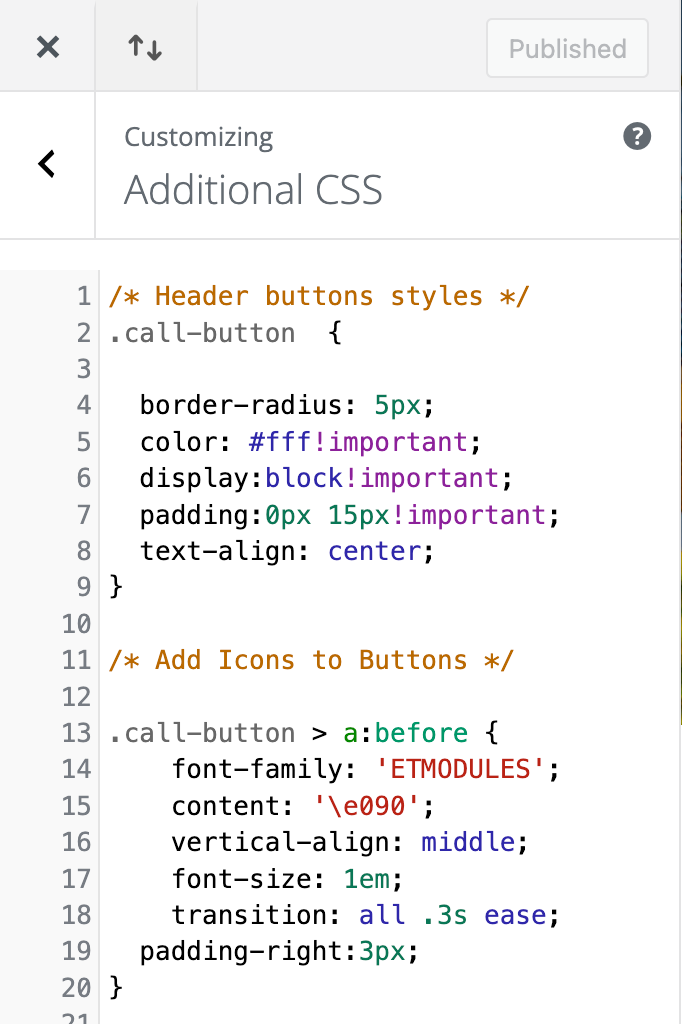
Updating Menu Structures
There are 4 locations for menus in Sierra. The Primary Main Header, Header CTA (Telephone Call to Action), Footer Column Menus and Property Page Menu.
The Primary Main Header
There is little to do here unless you wish to add new or remove pages.
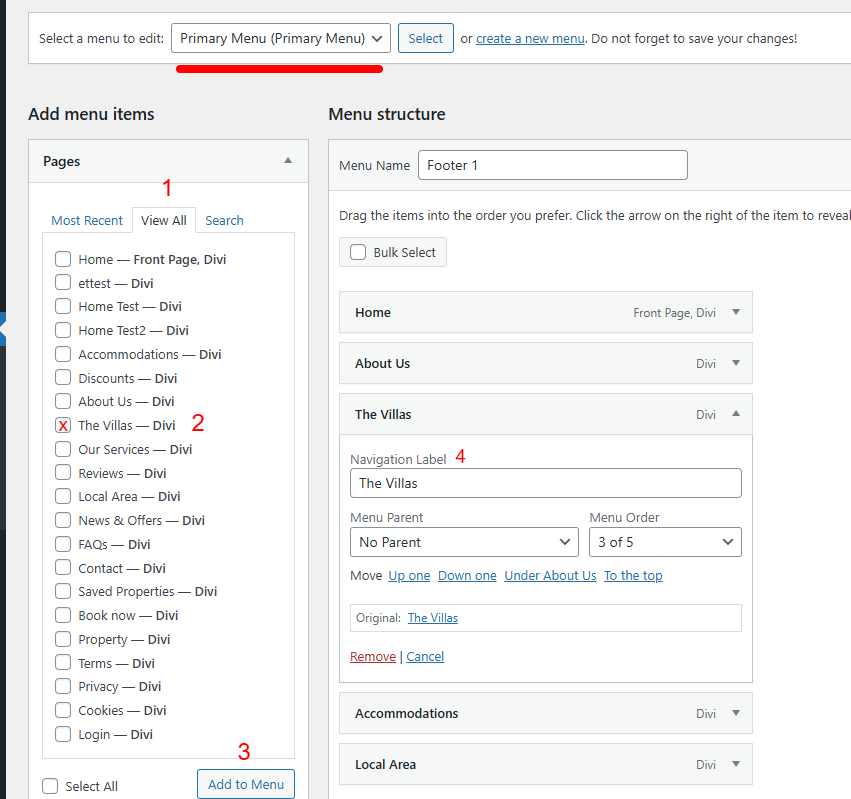
Add New Pages
Go to the View All tab to see the full page list.
Check the boxes for the pages you want to add.
Click Add to Menu. The new pages will appear at the bottom of the menu structure.
Edit the Navigation Label in the text field
Drag and drop your pages into the desired position. To create a sub-page, drag the page slightly to the right under another page (indented).
Note: This does not change the page URL (permalink). To change the URL, edit the page settings directly.
Remove Pages from Menu
| 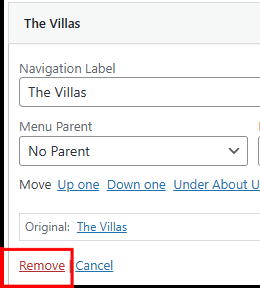 |
Header CTA (call button)
1. Select Header CTA
2. In the URL field, replace the default number with your own telephone number. Keep tel: before the number (e.g., tel:123456789) so browsers recognize it as a phone link.
3. Save Menu

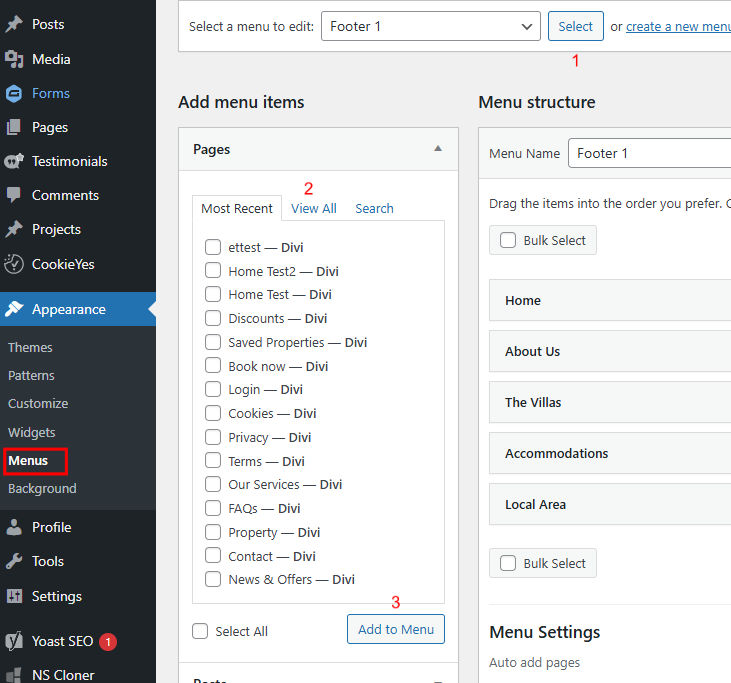
Footer Menu 1 & 2
The footer menu is essentially split into 2 different menus, one for each footer column 3-4. Select each from the top dropdown and if you wish to add, swap, remove or re-arrange them, use the same method as above for the Main Menu.
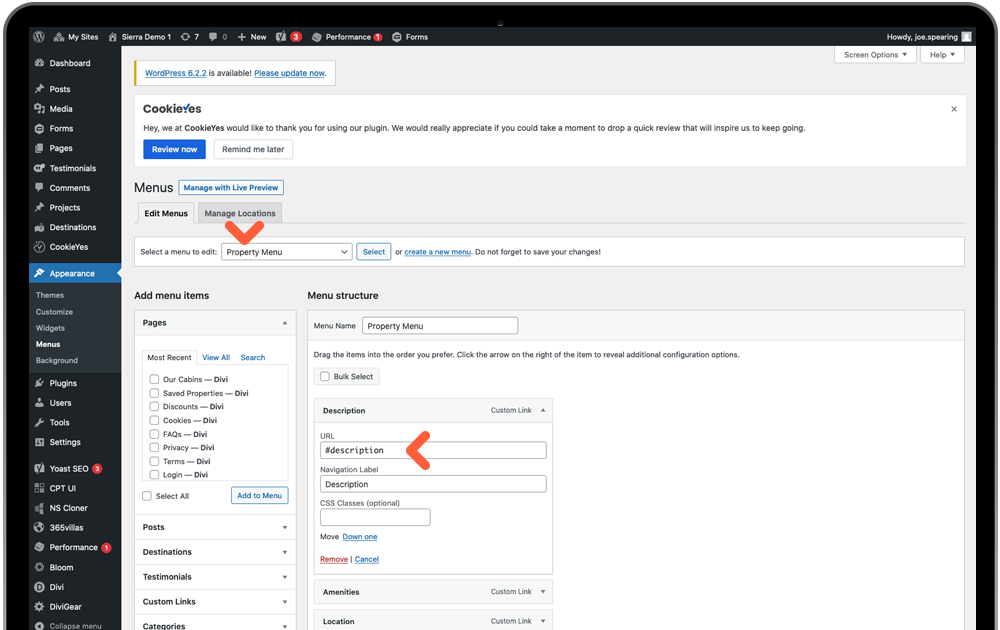
Property Menu (Property Focus Page)
This menu works as an anchor menu for the information sections on individual property pages. We have inserted anchor links to help the user scroll to desired sections. No changes needed here unless you wish to remove any.
Was this article helpful?
That’s Great!
Thank you for your feedback
Sorry! We couldn't be helpful
Thank you for your feedback
Feedback sent
We appreciate your effort and will try to fix the article