Introduction
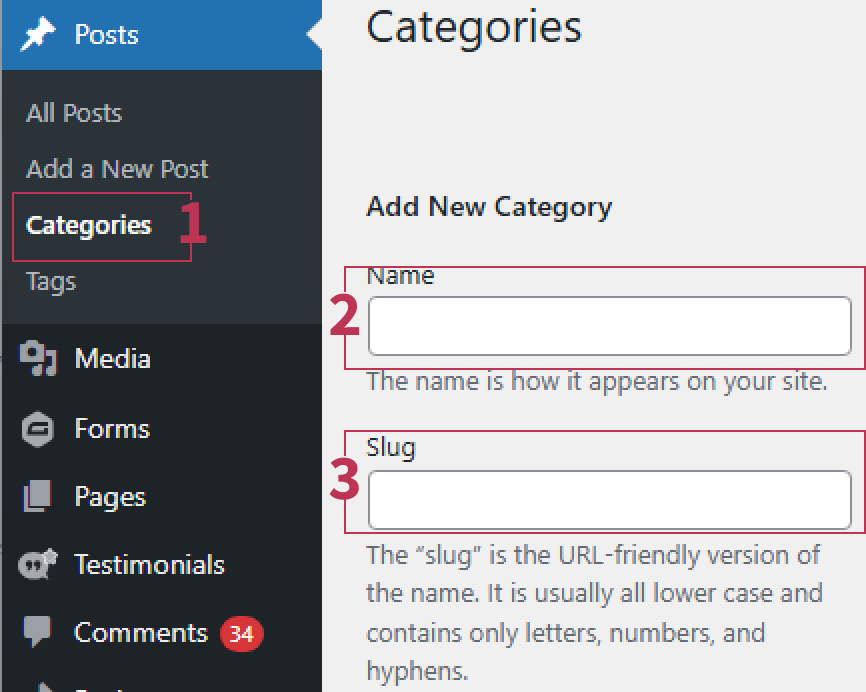
News/Blogs and Offers are managed from the Posts Menu towards the top of the left menu in the content management system of your website. When you create a new post, you must assign it to either a news/blog or offer category. They will appear in the same grid on your news page but by categorizing them the user will be able to view them by category list too eg. Offers link on the homepage.
Add a new post
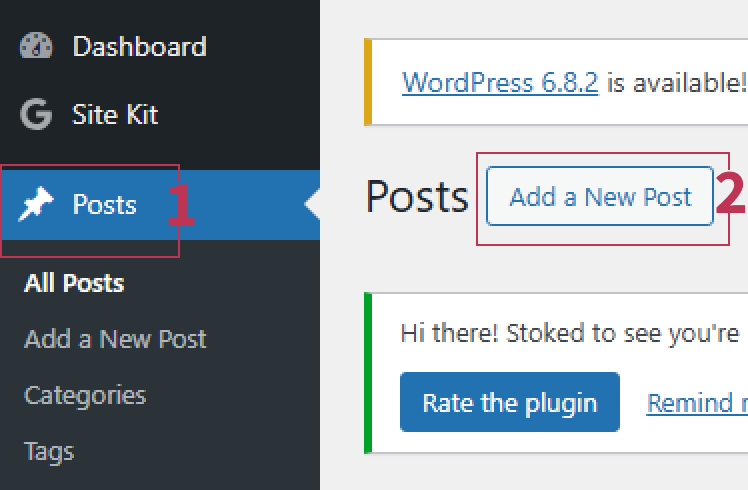
To add a new post, click the ‘Add new’ button in the posts section.
Title Post / Gutenberg Editor
WordPress now uses a post builder called Gutenberg. Add post/offer title in to the large text field and then you can start typing directly in to the paragraph field below it. This will bring up a small toolbar where you can edit style, alignment and add hyperlinks.
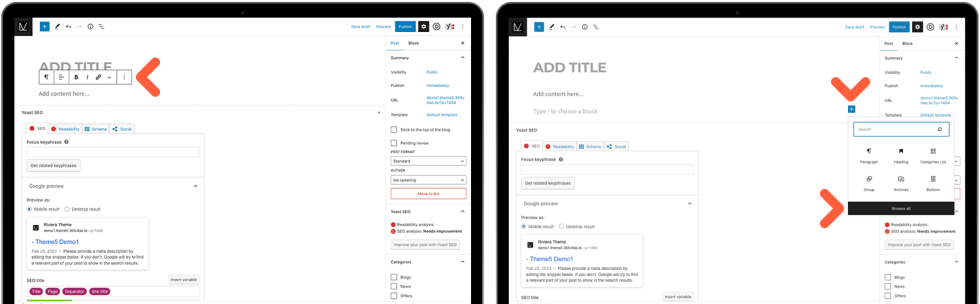
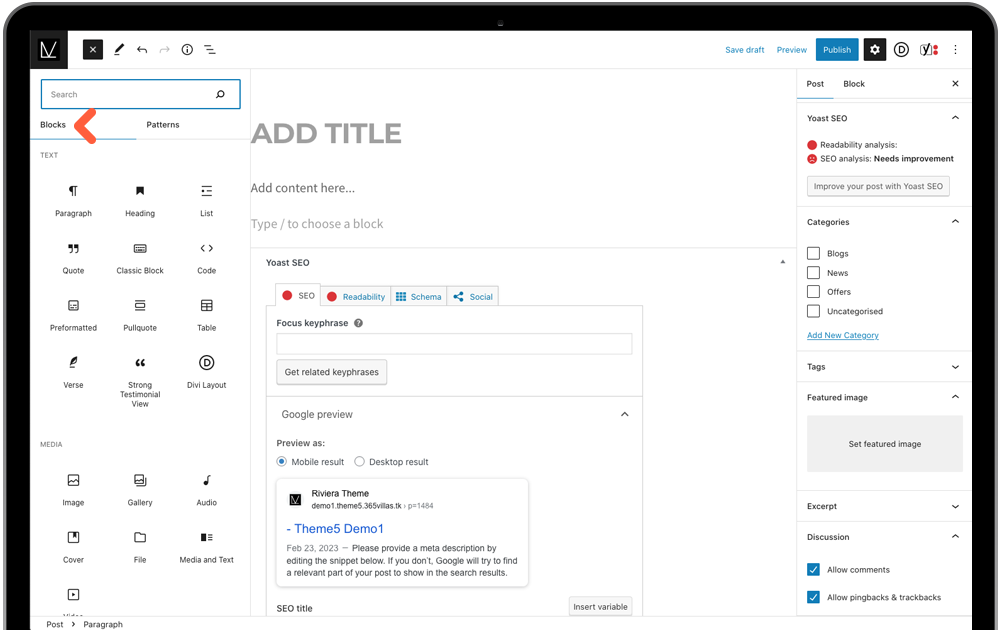
When you press enter after your first paragraph, the next ‘block’ options will appear, displaying a blue plus icon. Click this for more block options available for adding to your post content. This presents you with an initial handful of extras but you can ‘Browse all’ to bring up a full menu attached to the left of the screen. This includes many options, the most popular would be Headings (H1 displaying the largest), Images, Galleries and even Videos.

Publish
You can Preview the post on the front-end of the website or you can Publish. Click the top Publish button to post immediately, or to schedule for a future date, in the same Post tab, under Summary, you can click the text link next to Publish and select the date and time from the calendar. The top page button will change to Schedule which you can click to confirm.
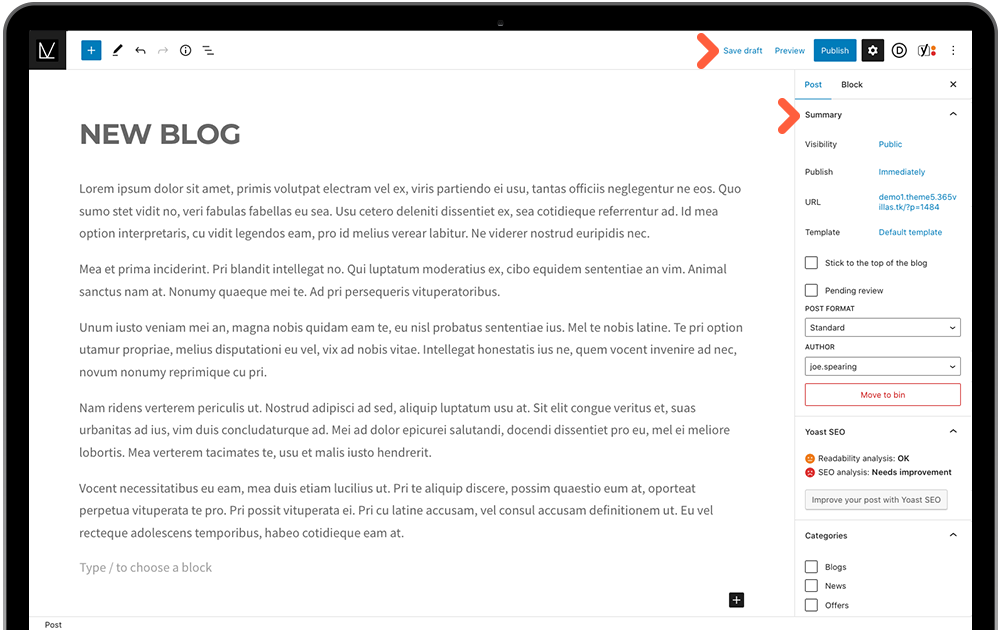
The post URL will be automatically generated from your post title but you have the option to amend this by clicking the URL link.
Was this article helpful?
That’s Great!
Thank you for your feedback
Sorry! We couldn't be helpful
Thank you for your feedback
Feedback sent
We appreciate your effort and will try to fix the article