WordPress Customizer
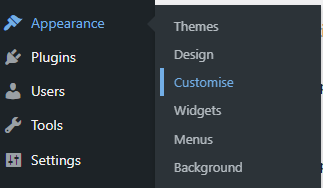
We are going to make a start with the top-level WordPress website styles. Go to Appearance Menu > Customize. This will open the settings screen below, the following tabs need to be visited.
General Settings
Site Identify1. Site Title (business name) 2. Tagline (business description) for your website. 3. Uploading your favicon under Site Icon – the icon that sits inside browser tabs. Favicons should be square and at least 512 × 512 pixels. 4. Click ‘Select Site Icon’ and as you did for the logo, drag your favicon into your media library and select. Crop if needed. | 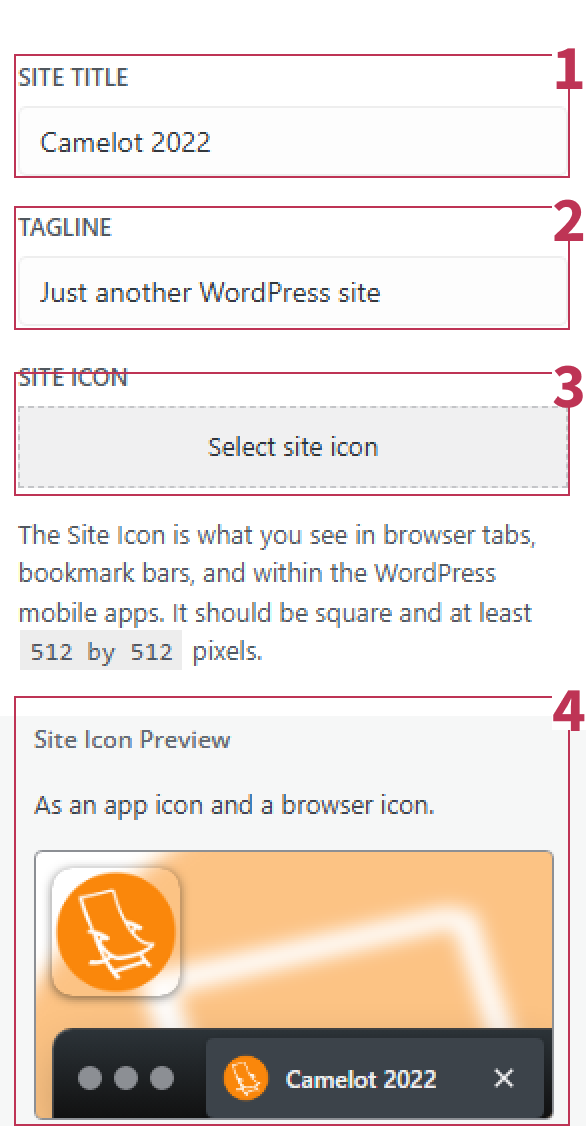 |
Buttons

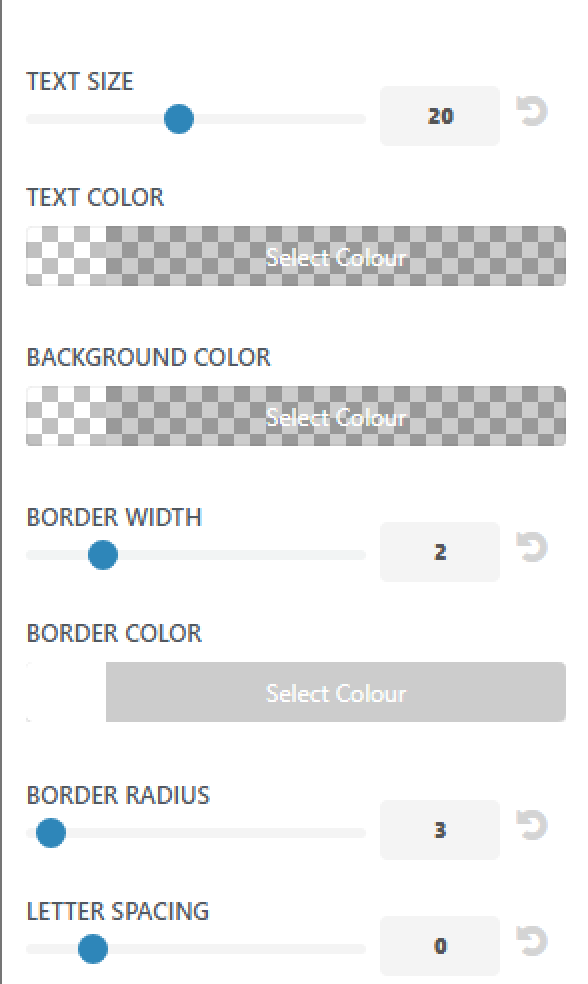
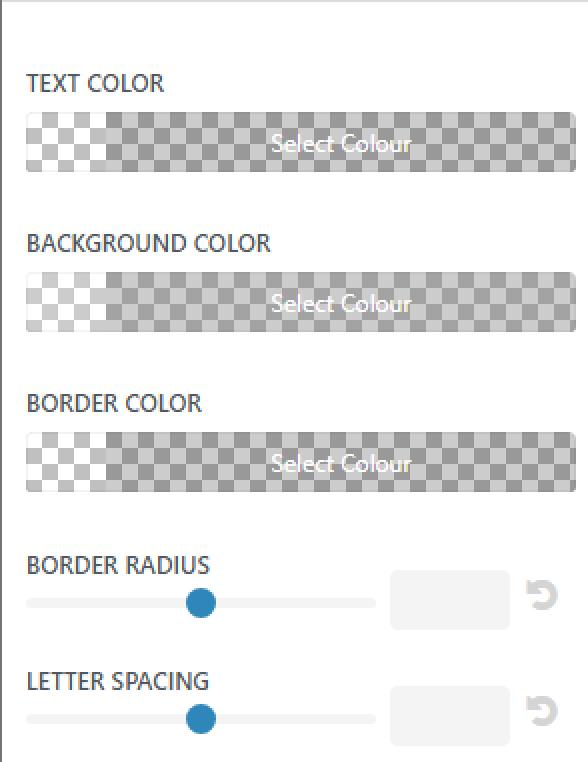
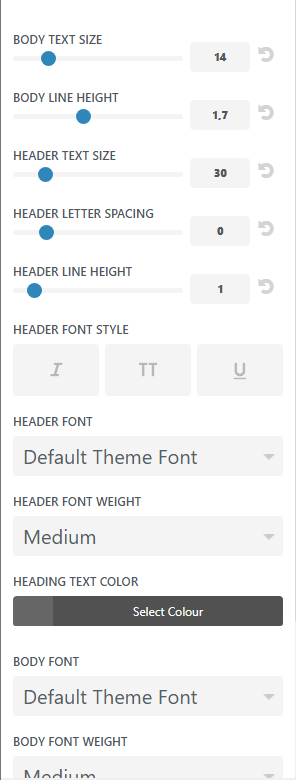
Tips: To keep brand consistency, use either the heading or paragraph font you selected in Typography settings above.
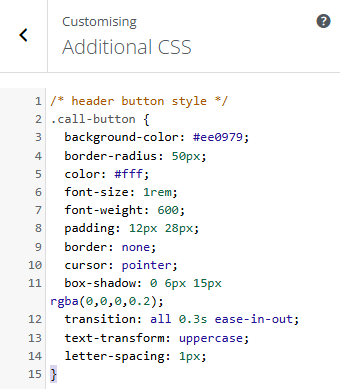
Additional CSS
Updating Menu Structures
There are 4 locations for menus in Camelot 2.0. The Primary Main Header, Homepage Icon Menu, Footer Column Menus and About subpages (side menu).
The Primary Main Header
There is little to do here unless you wish to add new or remove pages.
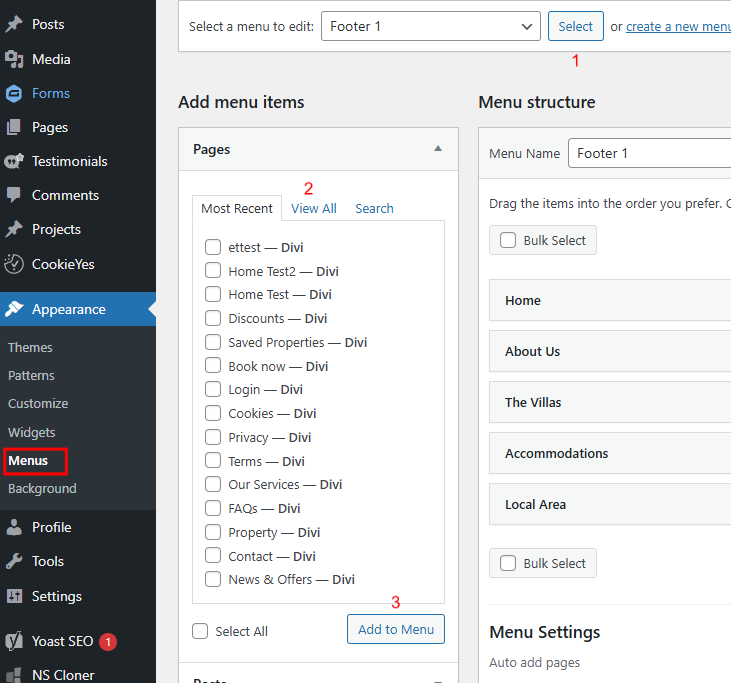
Add New Pages
Go to the View All tab to see the full page list.
Check the boxes for the pages you want to add.
Click Add to Menu. The new pages will appear at the bottom of the menu structure.
Edit the Navigation Label in the text field
Drag and drop your pages into the desired position. To create a sub-page, drag the page slightly to the right under another page (indented).
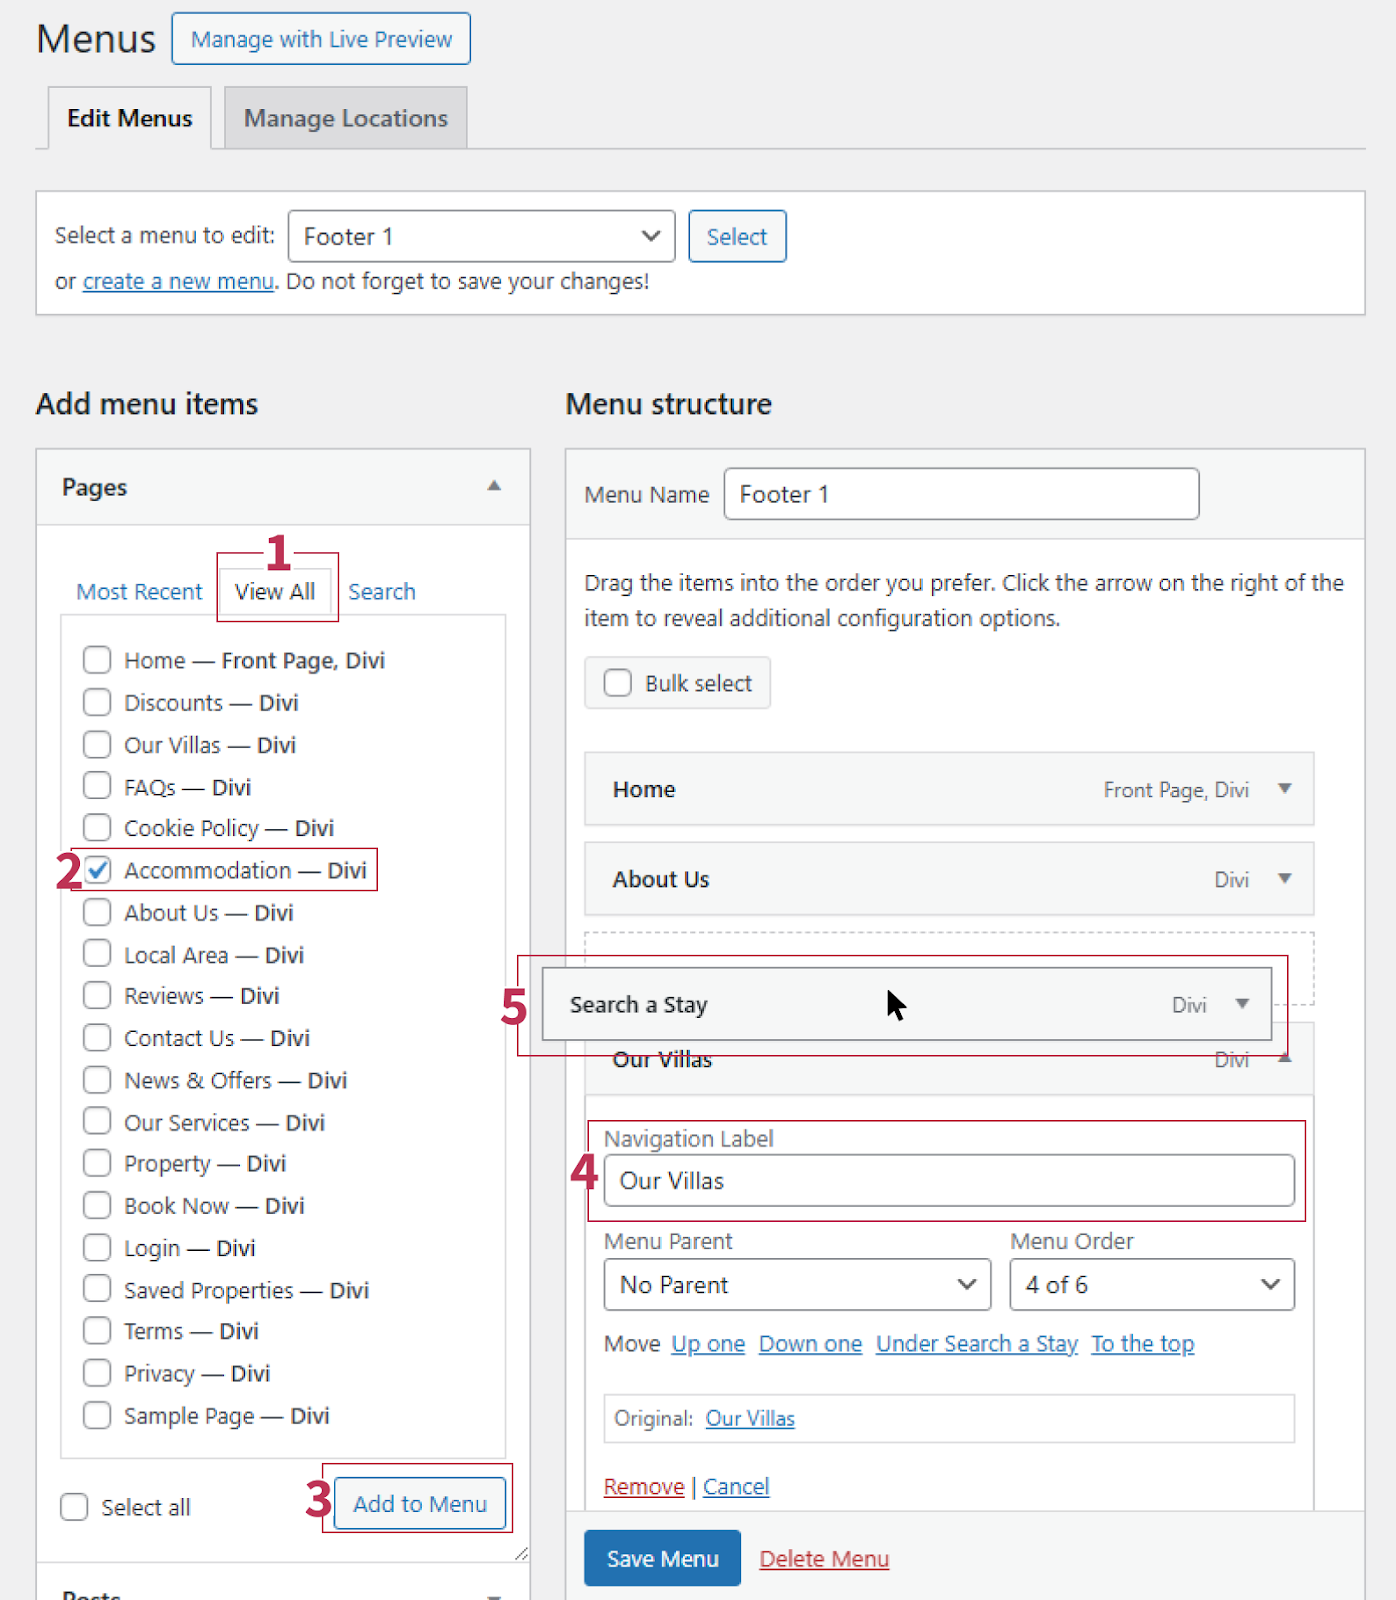
Note: This does not change the page URL (permalink). To change the URL, edit the page settings directly.
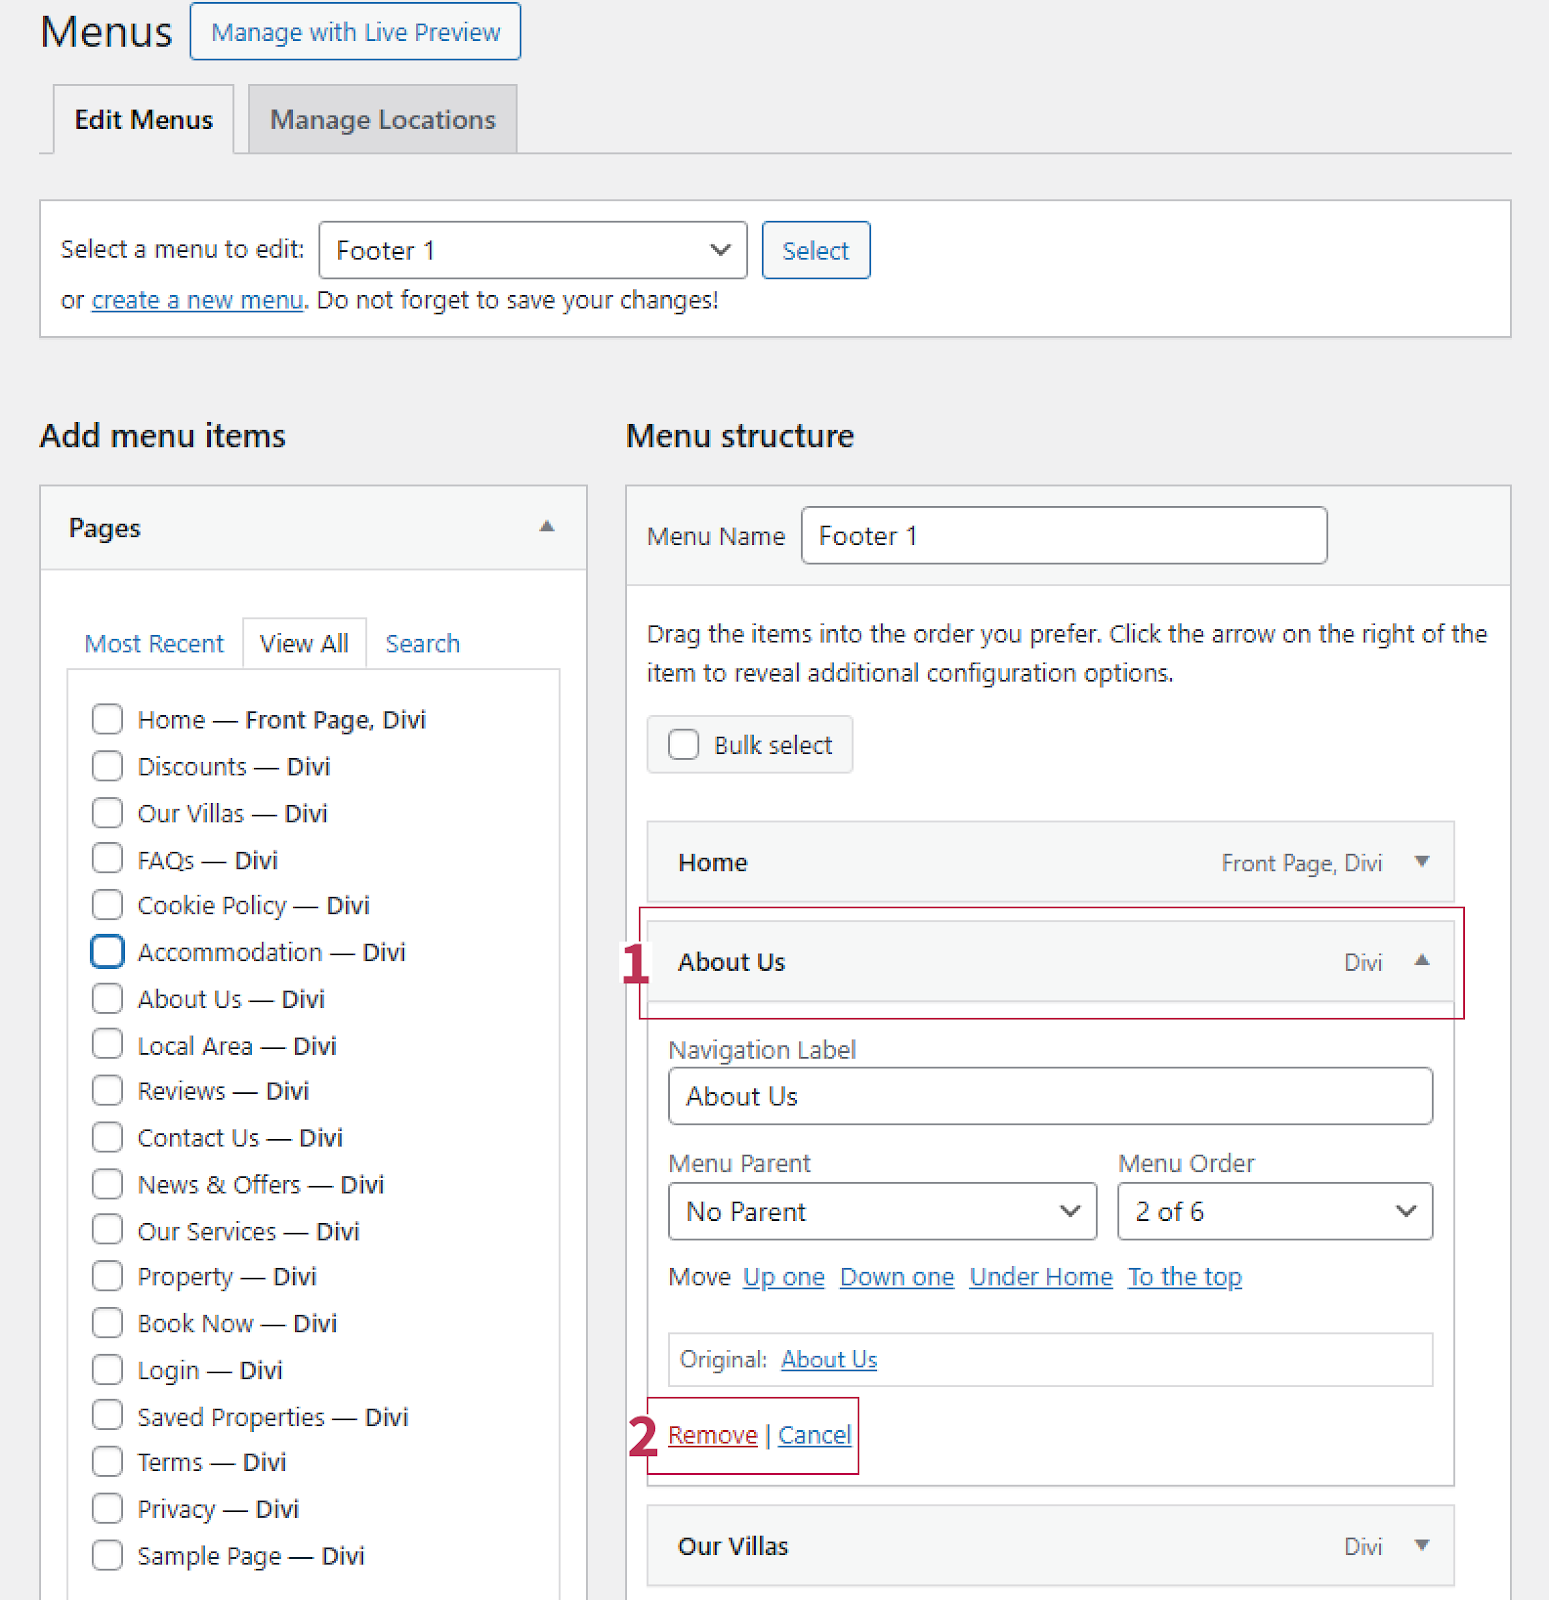
Remove Pages from Menu
Click the page in the menu.
Select Remove to delete it from the menu.
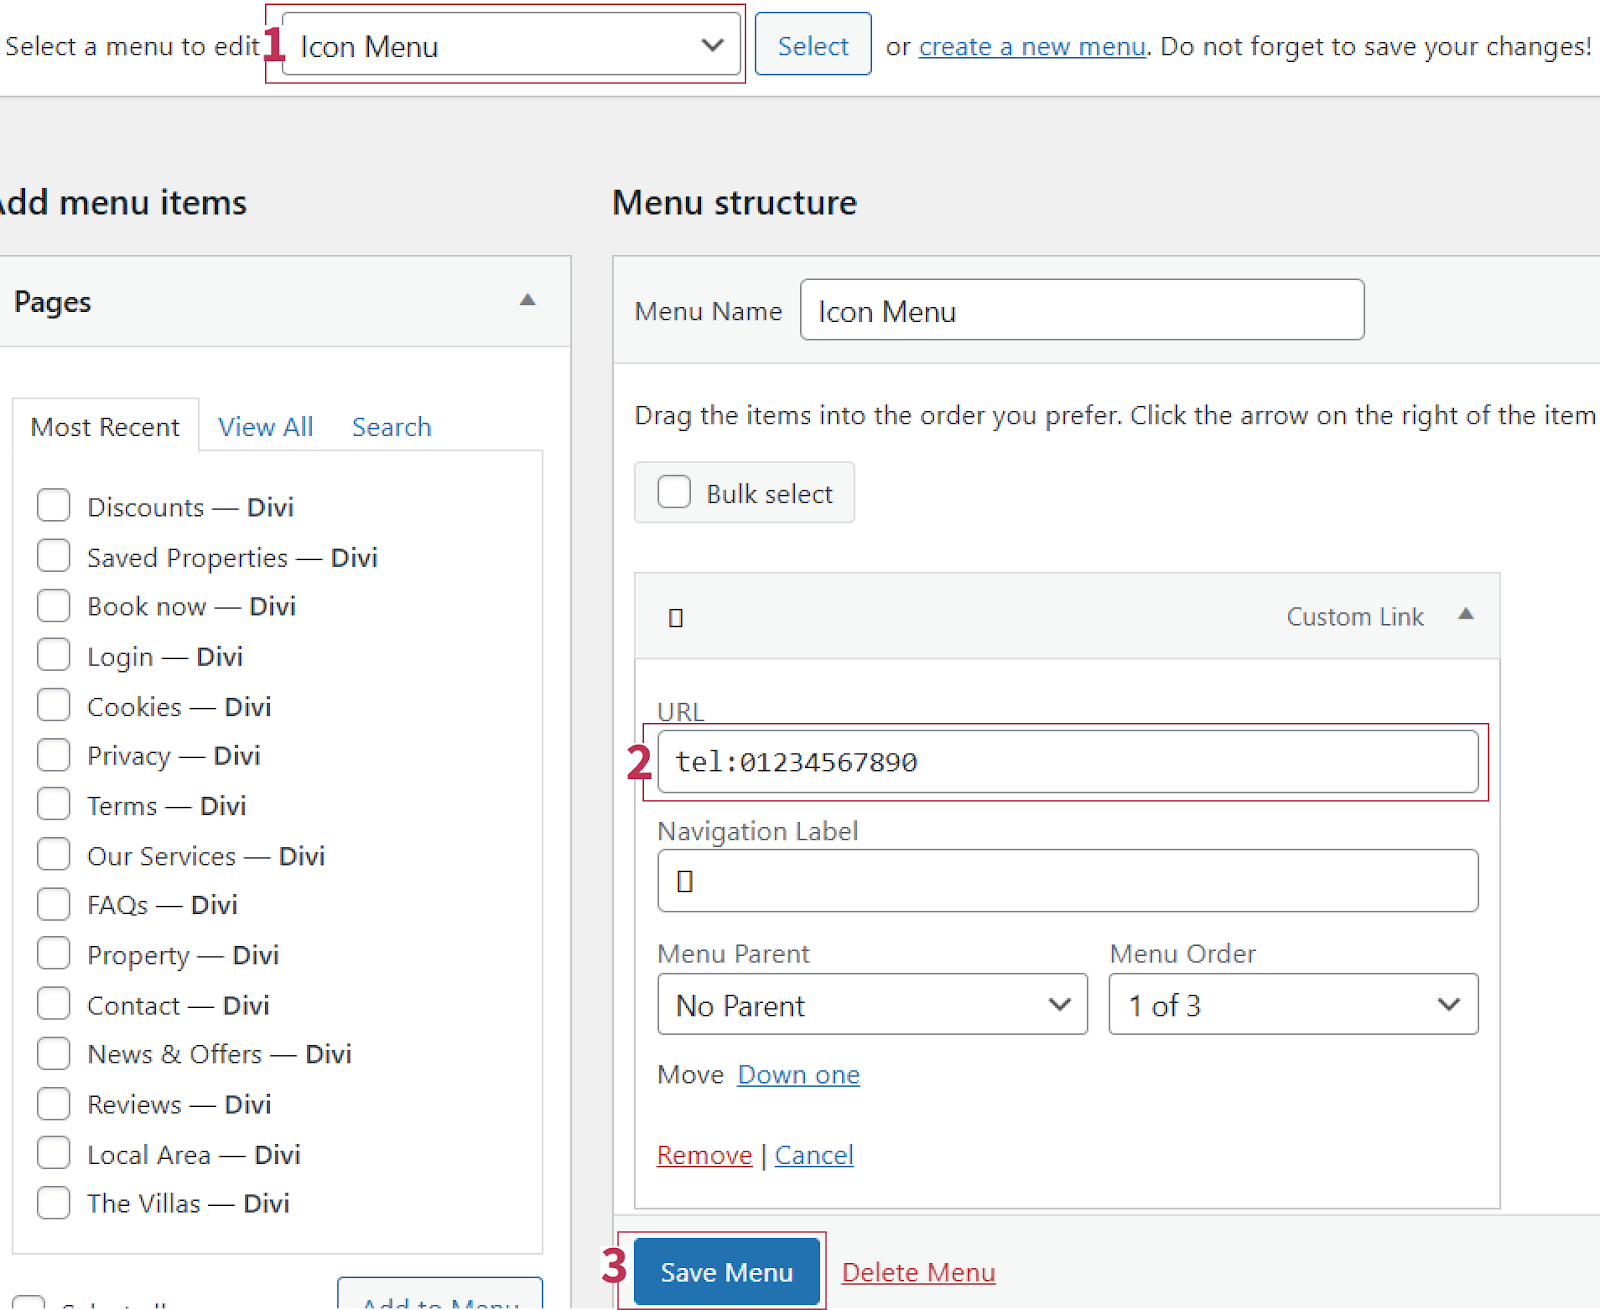
Icon Menu (Homepage)
Select Icon Menu
In the URL field, replace the default number with your own telephone number. Keep tel: before the number (e.g., tel:123456789) so browsers recognize it as a phone link.
Save Menu.
Footer Menu 1, 2 & 3 and About Menu
The footer menu is essentially split into 3 different menus, one for each footer column 2-4. Select each from the top dropdown and if you wish to add, swap, remove or re-arrange them, use the same method as above for the Main Menu.

Was this article helpful?
That’s Great!
Thank you for your feedback
Sorry! We couldn't be helpful
Thank you for your feedback
Feedback sent
We appreciate your effort and will try to fix the article